I got the idea for this craft from the
Masked Mommy blog. I've been wanting something to feel more organized with all the stuff we just throw on the counter, but I didn't want to spend tons of money on something that didn't fit my needs very well, so I made my own. It definitely has it's funny quirks (the side is quite wavy), but I'm still loving it!
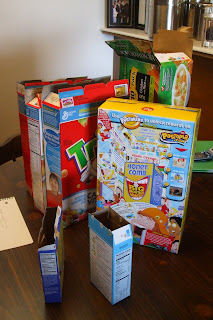
I started by collecting a bunch of boxes in a variety of shapes and sizes.
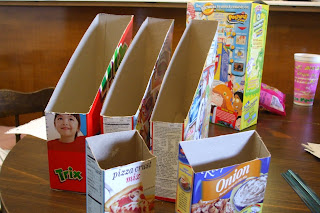
Then I really figured out what exactly I wanted/needed and I designed the sorter and cut the boxes down to size.
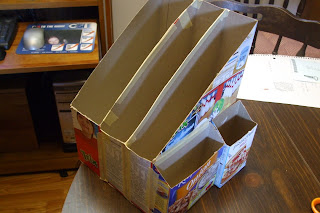
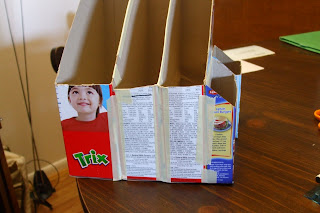
Next I taped the boxes together (you have to use masking tape for this, so the paper mache will stick to it).
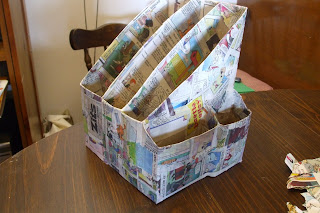
I paper mached the sorter. This helps it be sturdier. Check out
The Masked Mommy for instructions and tips on doing this.
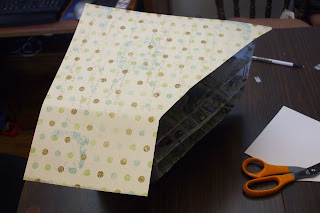
The Masked Mommy painted her sorter, but I wanted this specific paper because it matches my kitchen. I mod podged it all on. I'm not going to lie, this took forever (2-3 hours) because I only had a few pieces of the paper I wanted (and Michael's doesn't sell it anymore :( ), so I really had to figure out how to make it stretch.
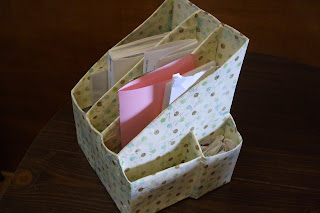
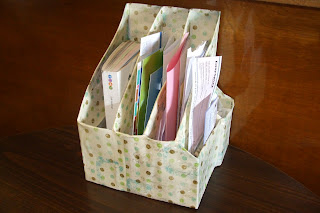
All done! I love this thing (have I said that already?)! Joel and I each have a big slot to use for whatever we want, there's a little slot for receipts and one for other random little things we always seem to have around, and one big slot left for our entertainment book and other coupons and gift cards. I feel so organized with it!
 I got the idea for this craft from the Masked Mommy blog. I've been wanting something to feel more organized with all the stuff we just throw on the counter, but I didn't want to spend tons of money on something that didn't fit my needs very well, so I made my own. It definitely has it's funny quirks (the side is quite wavy), but I'm still loving it!
 Then I really figured out what exactly I wanted/needed and I designed the sorter and cut the boxes down to size.
 Next I taped the boxes together (you have to use masking tape for this, so the paper mache will stick to it).
 I paper mached the sorter. This helps it be sturdier. Check out The Masked Mommy for instructions and tips on doing this.
 The Masked Mommy painted her sorter, but I wanted this specific paper because it matches my kitchen. I mod podged it all on. I'm not going to lie, this took forever (2-3 hours) because I only had a few pieces of the paper I wanted (and Michael's doesn't sell it anymore :( ), so I really had to figure out how to make it stretch.
 All done! I love this thing (have I said that already?)! Joel and I each have a big slot to use for whatever we want, there's a little slot for receipts and one for other random little things we always seem to have around, and one big slot left for our entertainment book and other coupons and gift cards. I feel so organized with it!
That is great idea. I am definitely going to make one. Thanks for posting!
ReplyDeleteHow cute, I think I will have to try this one out!
ReplyDeletethis so brings back memories of the kids having these for their school work....all differently decorated to suit
ReplyDeletethen we moved, downsized and they had to go :(